I never thought I would be a person to say, "I refinished a piece of furniture". It just sounded WAY out of my league. And I was pretty sad about it, because people can change utter junk (like the ugliest pieces of crap ever) into the cutest pieces of furniture! Just take a look at Etsy and you'll see. But we went to the annual garage sale that our community has every Fall a few weeks ago and I found not one, but two black benches for $5. Not $5 each....$5 for both! I was so excited! I felt kind of guilty walking away. Like I was knowingly cheating them. Where do you ever find a deal like that? Not even on craigslist. (Actually, especially not on craigslist. People price their stuff so high these days, its like, don't you want to sell this? Ugh. Another story) Anyway, they weren't the color I was looking for and honestly I didn't even know what I was going to do with two of them, but I knew this was a golden opportunity that I couldn't miss. So my husband and I wedged the two benches in the back of our yukon XL (Oh yeah, that's right. #suburbanmomlife) and drove home while I wondered if I would be reselling the benches on craigslist the next day.
In the end, I decided to keep them both; one for the front porch (which you have probably seen in pictures of the front porch decorated for Halloween) and one for our entryway. I knew I had to at least try to refinish them in colors that I liked. So I did. Here is how my black bench went from an old, beat up and not my style bench, to the cutest, country-esque bench ever!
Disclaimer: Since this is my very first attempt at refinishing a piece of furniture and I may not have done it the right/best way, note that there may be better ways of doing this and my way might not be perfect. So if you are looking to refinish something for your first time, research!
BEFORE:
I had already started sanding before I took the real "befores", but I was too excited! You get the idea though.
Step 1. Sand the entire bench down. One thing that would have been smart was to wear a face mask, as it gets really dusty and you will be coughing and could possibly end up with black boogers. I know, gross right? I don't even want to know what it did to my lungs to breathe that in. But once I started, I wasn't stopping!
I'm sure that I should have sanded more than I did, but I got to anxious to start painting. So this is about as far as I went.
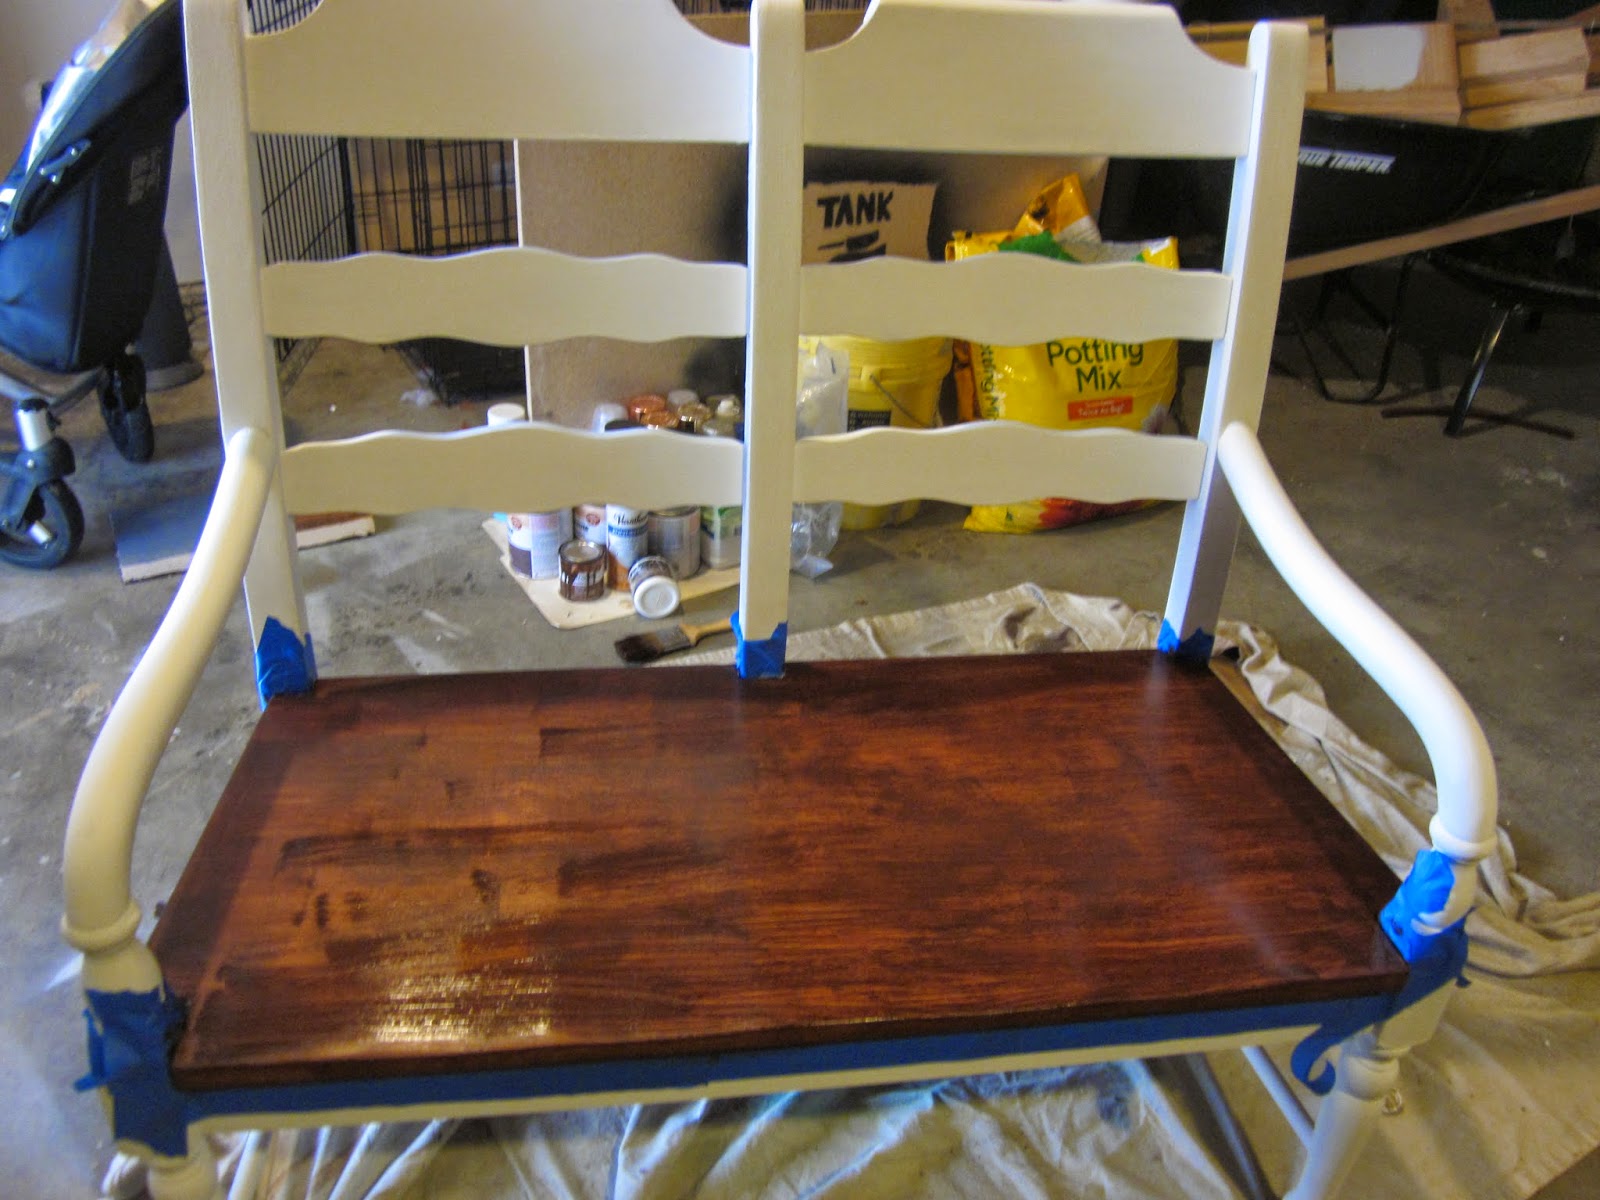
Step 2. Tape off any parts you don't want painted (I wanted the seat to stay brown) and start painting! I used a simple white chalk paint that you can find at Michaels. Note: Home Depot has LIMITED amounts of chalk paint and Lowes doesn't have any! So don't waste your time there.
It took me about two and a half coats of white paint, plus a couple times going over the whole thing with a tiny paint brush for touch-ups.
Step 3. Stain the seat of the bench. I used Rustoleum American Walnut (its seems to be the color I am using for many projects lately). I only used one coat, as a little goes a long way and I didn't want it to be too dark.
Step 4. Then spray two coats of polyurethane over the seat and then wax the whole bench, top to bottom. I used Martha Stewart's Vintage Decor Clear Wax. This is just to help seal it all in and protect the bench from getting scratched too easily. The chalk paint is nice because it gives it that cool "chalk-y" look, but then it can come off like chalk if you don't seal it with wax.
AFTER:
Cool right? I refinished a piece of furniture! All by myself!
Here it is in its new home. Right off the side of the entryway in front of the office. It felt a little strange at first to have it there, because it seems odd to have it right in front of the door to the office, but that side of the door is always closed, so it didn't really matter. I really like that it filled up the otherwise "dead" space and gave us a place to sit while getting shoes on. Peanut already has been sneaking off with her toys to sit and play on it.
I didn't want the seat to be quite so dark, but it has definitely grown on me.
That's it for today. Hope you've been inspired to refinish something of your own!


I like this information Thanks for sharing this. I would like to these articles and I have confusion but I read your news and I easy understood
ReplyDeleteFluorescence in diamonds