Thursday, November 16, 2017

Thanksgiving Table

Hi Friends! Hope your week is going well.
I meant to have this post out earlier in the week, but life got kind of crazy for us. Thanksgiving is next week, can you believe it? Yikes! Where did November go?
We are not hosting Thanksgiving this year, but I wanted to show you guys how I usually decorate our table for Thanksgiving. I like to use a bunch of pumpkins and gourds (and this year pomegranates) and then tuck some seeded eucalyptus in here and there. It is such an easy way to decorate and the best part is the items used are all things you can get at your local grocery store.


I like to add in an antler or two for a bit of extra interest. You could also try feathers or dried decorative corn.


I used both real and fake pumpkins and gourds in here. My pumpkins from Halloween were getting a little too smushy for it. I wanted to have this cranberry and sage color theme throughout the house this Thanksgiving, but it really just ended up being in the dining room. I really love the color palette.


With the centerpiece as the main focal point, I kept the rest pretty simple and used my white round plates, IKEA woven chargers and classic farmhouse style napkins. I got the napkin rings from my husband for our anniversary and they are so pretty. They are actually bronze casted ferns. Each one was made from an original fern. Kinda cool.


You might have noticed we have a new chandelier in here! Isn't she a beauty? I love it so much. If we ever move, it's coming with us. We kept the old light that was in here, just so that we can bring this one with us when we go. I will NOT part with it. EVER. It is so gorgeous by itself, but I usually hang these gray cardboard leaves on the light in here.


And here is the new sideboard that we got that you may have seen already in my Instastories. I have been working on painting it and it has proven to be a pain in the....you know what. I have used chalk paint many times before on furniture that I have painted, but I thought I would try out milk paint this time around because I had heard that is is way better. I don't know if it was the color I chose or the milk paint or the piece of furniture itself, but it was not working. Then I went back to chalk paint because I figured I could just stick to what I know. Well, then the oils of the sideboard started bleeding through the chalk paint....AHHH! Even with 2 coats on and it turned the piece brownish. UGH! So now I am back to square one and have to go back and sand it and start all over again. I know some of you are probably thinking, "Well you should have sanded it in the first place!". But listen. I have never had an issue before by not sanding first. I don't have the time (or patience) for sanding!


Once I get it finished though, I think it will look really good in here. The room already has so many dark colors from the paint color and the dark table and bench that it really needed something lighter to add some contrast. This room is so close to being "finished" in my mind, so I am hoping that in a few weeks I can show you some before and after pictures of it. It has come a long way from the folding tables we had in here. ;)


Hope this gave you some inspiration for your Thanksgiving table! If you want to see more you can go check out my table from a previous year, which is the same idea, but different colors. Click HERE to see. I really like the way my napkins were that year too. If I were hosting this year, I would totally do that again. Then if you need inspiration for a kids table, click HERE.
How are you decorating your Thanksgiving Table this year? I would love to hear your ideas! Leave me a comment below. Enjoy the rest of your day friends!

Friday, November 10, 2017

Thanksgiving Home Tour / Part 2

Happy Friday and Happy Veterans Day! Thank you to all of the brave veterans past and present that have risked their lives and sacrificed for the safety of our country and home. Your service and bravery are so little spoke of, but so appreciated in the times we live in.

Welcome back to Part 2 of our Thanksgiving Home Tour!~
Today I am going to take you through our living room where we recently made a big change! Can you spot what it is?


Any guesses? We painted that cabinet to the left of the fireplace white!
I follow this amazing blogger named Brooke (no, not me) at Nesting With Grace and she recently offered to people who signed up to get emails from her to receive free advice on one design question. I follow her anyway because she is amazing, so when she offered this I was super excited to see what she would say. I have been struggling with what to do with this old nook in our living room for awhile now, so I asked her what she would suggest. She gave me a couple of great ideas. One which was awesome, but just not in our budget right now, was to build it up into one tall cabinet and paint it white to match the fireplace. It would close off the space and get rid of that awkward emptiness. I definitely loved the idea of more storage. Another idea was to paint it white, again to match the fireplace and the other shelves in the room and put a tall mirror on the top of the cabinet and switch out the mirror on the fireplace with some art. This would bring out the depth of the space a bit and make it not so dark. I couldn't bear to part with the mirror that is on top of our mantle; I am so in love with it. But I went ahead and painted the cabinet white and then I am going to look for some tall vintage window or architectural piece to put in there. Just painting it white made such a huge difference and the cabinet no longer sticks out from the rest of the room. If you don't follow Brooke already, I recommend it. She has such a unique style and I am always getting inspiration from her. She also lives in a TINY home with 3 children and she somehow makes it feel roomy and welcoming.


Don't mind the kittens playing in the background. They are always curious to know what I am up to.
And they are so cute, I really don't mind them being in the shot.


I switched out the hardware on the cabinet as well and it looks so much nicer and updated. I don't know if you can tell, but the two top pulls are just taped on for the pictures. My husband was out of town and I definitely don't trust myself with the power tools, (what is the name for that thing? A screw gun?) so rather than mess up the drawer with a bunch of holes, I decided to just wait for him to get home to do it.


For our mantle I just lined up a few of my white pumpkins and then added in some fresh eucalyptus. My house is smelling amazing right now because it is all over the place. Then I just placed some decorative corn (easily found at the grocery store) in the farmhouse pitcher for a bit of Fall color.


I made the banner a few years ago and it is really easy to do if you want to make one. Just cut out flag shaped pieces of burlap, then paint the letters on using a stencil or free hand, then either sew or use fabric glue to attach to the ribbon. I have a few clear command hooks that I keep on the top of the mantle (for stockings at Christmas mostly) that hold the banner up. And any pieces that don't line up I just use scotch tape. Good old scotch tape. That is, if I can find any. My daughters are always using up our tape for their various projects and I am always like, "What happened to all the tape?"


I love the texture and look of cotton stem. It is so pretty and so versatile! It can pretty much work throughout the seasons. And it't neutral, so you know I love it.


I also changed up the shelves around our TV. I was feeling a little bored with them and wanted to give them a cleaner look. I figured it would be good to give them a fresh start before Christmas comes with all its "things".


That painting on the right is one of my very favorite antique store finds. It doesn't really fit in the shelf, so I kind of squeezed it in there.


Here are some before and after photos of the cabinet so you can really see the difference it made.
BEFORE:


AFTER:


BEFORE:


AFTER:


BEFORE:


AFTER:


I am so happy with the cabinet and so grateful to Brooke for the idea. It's amazing how little changes here and there can really have such an impact. I sometimes get frustrated with how our house isn't "finished" and I think about all the things we still have to do to make it "complete". But really, decorating your home is a gradual thing and it's always evolving. It takes time. Not everyone has the money or time to make it all perfect all at once. Things change, tastes change, ideas change and I guess I've realized that making a home is in the process. There is always going to be something new to do, some new project to complete. But the journey of creating your home is so rewarding.

Anyway, done with that little tangent. Hope you enjoyed our Thanksgiving Home Tour and that it inspired you on your journey of creating your home. I hope you come back again soon. As always, I am happy to answer any questions you might have. Just leave me a comment below and I will get back to you. Have a wonderful weekend!

Thursday, November 9, 2017

Thanksgiving Home Tour / Part 1

Good Morning and happy Thursday friends! Hope you are all having a wonderful week. My husband just returned home from a trip last night so I feel like I can breathe a sigh a relief after feeling like a single mom for 4 days! Every time he leaves I feel renewed admiration for all you single mothers out there who do it every day. It is so hard!
I did get a lot of projects done though while he was gone and I'm excited to share with you. The first one is I pulled down all the Halloween decor and got decorated for Thanksgiving! Bloggers have a tendency to skip over Thanksgiving and go straight to setting up their trees the day after Halloween. Mostly because they have obligations and jobs to fulfill for their work. But it always kind of makes me sad. Don't get me wrong. I LOVE Christmas! It is my absolute favorite holiday and I will be setting up the day after Thanksgiving for sure and blasting Christmas music as soon as the turkey is cleared from the table. But because of the blogger life, I find that there is a lack of Thanksgiving decor inspiration out there. Plenty of table setting inspo, but nothing really for the rest of the house. And I want Thanksgiving to feel just as special as any other holiday. So anyway, all that to say, I will NOT skip Thanksgiving. Christmas will get it's turn, but now is the time to feel grateful for all the gifts we have and take a step back and appreciate it. As I started to decorate, I kind of felt like I was starting fresh. A clean slate so that we can focus more on each other and being grateful.
I split this Thanksgiving Tour up into 2 parts so that you're not swimming through tons of photos all at once. Be sure to come back tomorrow for Part 2.
Welcome to our home! Grab your coffee or tea and come on in!~
Today I'll take you through the entry and kitchen.


I switched my wreath out for one that I made last Fall. It seemed to go better with the warmer colors I used this time. I originally wanted to go with cranberry and sage colors for decorating this Thanksgiving, but as I started going through everything, I found that I already had a lot of this dark orange to work with. So I made that work. Always nice to use what you have right!? It think it worked perfectly. Kind of like Autumn's last breath. One last flash of color before everything fades for Winter.


I also finally got some baskets for underneath this bench! I picked these up at HomeGoods. I wasn't sure about them at first, but they have been so perfect. They slide in and out easily and the handle on them makes it easy for the girl's to access their shoes.


The Thanksgiving pilgrim children pillow I made last year from some fabric that my mother in law gave me. It is such a sweet print, I love it. If any of you cringe at the thought of sewing, my Insta friend Natalie at Vintage Porch (You can find her @vintageporch) has brilliant ideas for making no sew pillows. She just buys napkins, fabric gift bags or even place mats and then glues them together with fabric glue. Such a genius idea and so much cheaper than buying new pillows all the time! So if you can't sew, that's a great option. Hop on over to her feed and she shows you step by step how to do it.


We picked up these cinderella pumpkins at the pumpkin patch this year and they are so cute! I wish I could keep them forever!


Oh hey! Can you see me in the reflection taking the picture? This spot is so dark, it's really hard to get a picture here. But you get the idea. I also got the framed leaf idea from Natalie at Vintage Porch. It's a ten second project that makes FREE art. I actually used faux leaves, but real would be so pretty. We got a surprise blanket of snow everywhere recently, so all the leaves were wet and I couldn't use them. You could switch it up and do sprigs of rosemary or fir for Winter or in the Spring you could do fern leaves or flowers.


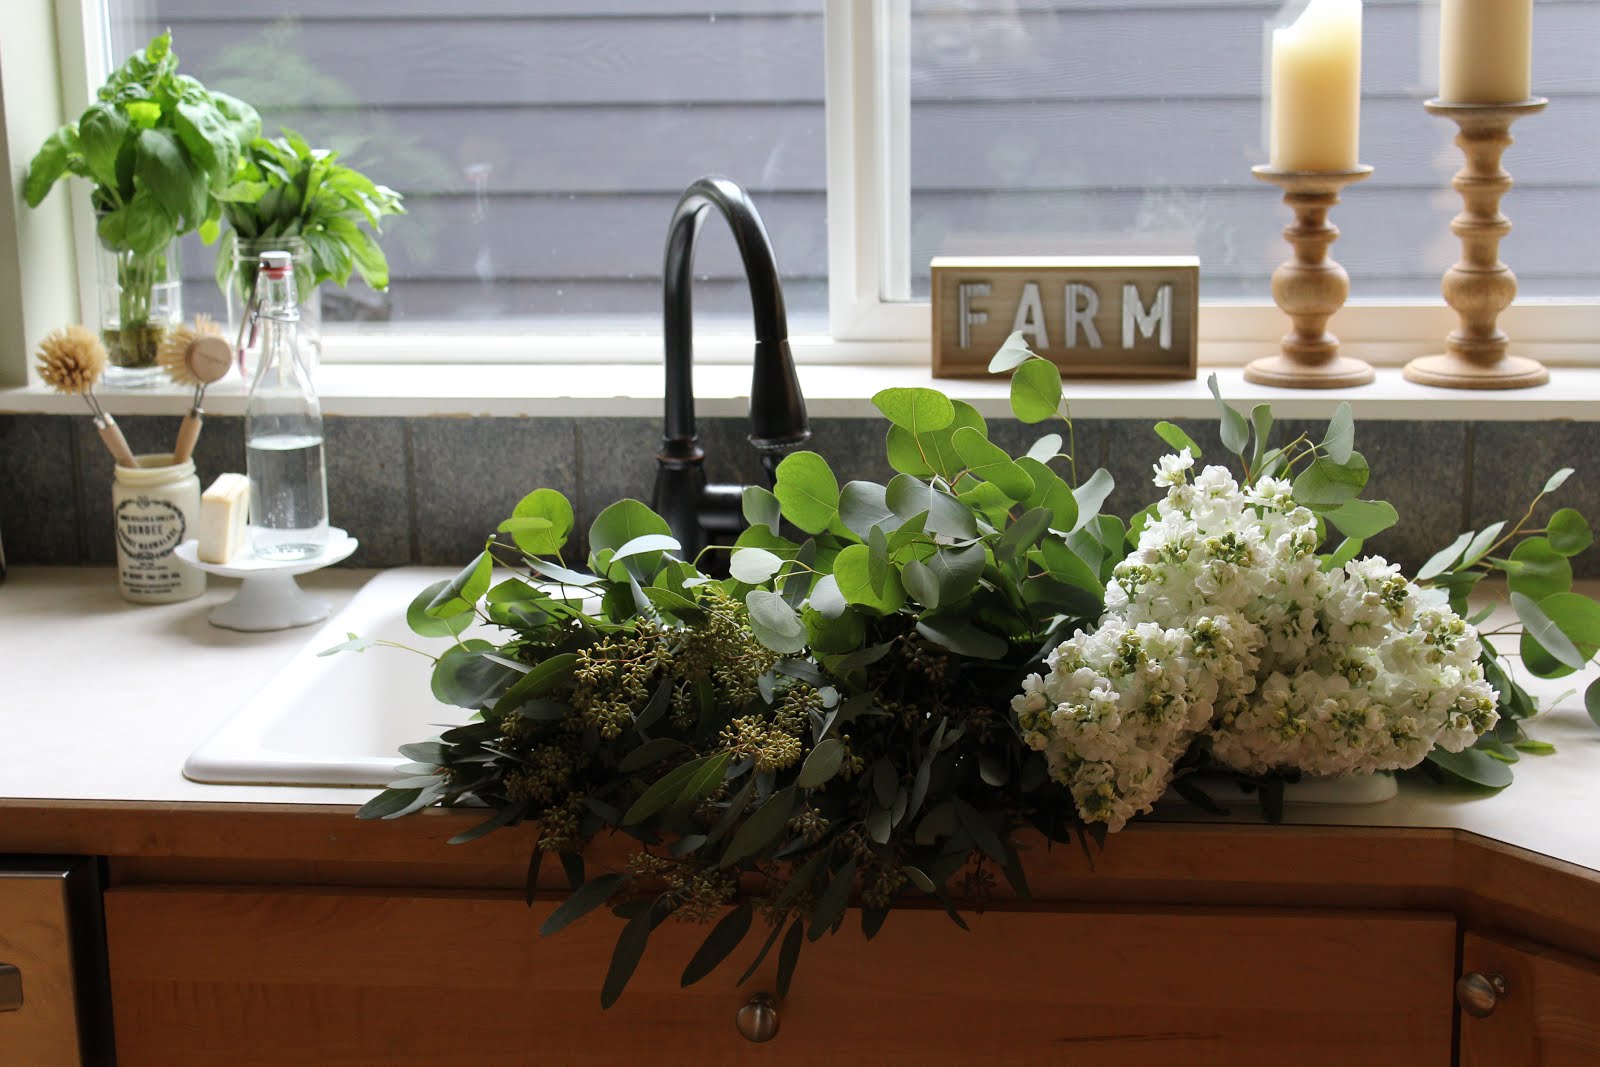
My gorgeous flower bounty. Cheapest flowers I have found are usually from Trader Joes. I don't go there for anything else, but totally worth it if you need a bunch of flowers.


Whites and greens are always great to use because they go with everything and they always look so clean and fresh. If you are ever having trouble styling a vignette in your home, usually the one thing that fixes the problem is a bunch of living flowers or greens. Works. Every. Time. Faux works just as well, but there is something about the real stuff that always brings life to your decor.


Take a good look at this kitchen now; it's about to go through some fun changes in the near future!


I wanted to show you guys this cute orange pumpkin candle from Big Dipper Wax Works. They are a company from Seattle and these candles are so amazing. First of all, beeswax candles are SO much better for the air quality than regular candles, even better than soy and they actually clean the air instead of putting out that soot-y stuff. I highly recommend them. Every once in a while I feel like you just need a good smelling candle to mask all the smells in the air that can happen in any home, but most of the time I love to use beeswax. It has a very subtle honey scent and it literally burns cleaner than any other type of candle. 


Anyway, I picked this orange candle up from New Seasons, but if you aren't local, they also have a website. Bigdipperwaxworks.com They have this once a year sale right before Christmas that I love to go to. You get to go to the factory and browse through their overstock of candles and you also get an awesome peak into the candle making factory. So cool!


I have already dropped a few hints and if you follow me on Instagram, you might have seen in my stories over the Summer that we are getting subway tile in our kitchen!!! I am so excited. It is going to make such a huge difference to getting that farmhouse look we love. I will be sure to keep you updated on the progress!
In the meantime, come back tomorrow for Part 2 of the Thanksgiving Home Tour. See you then!