Monday, October 13, 2014

Rustic Growth Chart

So there is this new blogger I have been following. Ok, maybe blog stalking is a more appropriate term. I think I originally found her on Pinterest and now I am so hooked. I literally went through all her blog posts from 2009 to 2014, day by day. I think my husband was getting a little concerned for me..... I am so addicted! She takes amazing photos, decorates her home perfectly, has creative and beautiful diys and has been featured in several magazines. Yeah, that's how perfect her house looks. Magazine worthy! The name of her blog is Dear Lillie. I just can't get enough. So she sells these amazing Ruler Growth Charts in her shop and I actually found a woman at a garage sale making and selling her own version as well (for around $60). I knew that I could re-create it for less. So I figured I would give it a try. Mine didn't turn out quite as nice, but I was able to make it for $15! And I love it. It's such a fun thing to have in the house for keeping track of how big the girls are getting and it has that perfect natural, rustic feel. Here is the how-to.

You will need:
A 9" X 6'-7' "common board" (You can really do any size or type of wood you want, but keep in mind you don't want it to be too heavy for hanging) The nice guys at the hardware store should be able to cut it for you (as they come much larger than this), if you can find someone, that is. The board cost me about $14 and I had all the other things I needed on hand.
4" Number stencils (There are many different fonts you can use)
Wood stain (I used American Walnut, but there are tons of shades and colors)
Black craft paint
Polyurethane
Painters tape or masking tape

Step 1. Stain the board. No need to sand it. I recommend doing this outside or in the garage as it is very fume-y. Wear gloves and protect the area where you are working. They call it stain for a reason. Oh yeah, and don't wear clothes that you care about. I was wearing a brand new white shirt one of the days I was working on it and as I was hammering the lid back on the stain can, it sprayed everywhere on me! Lesson learned! Allow the board to fully dry.


Step 2. Tape with painters tape, about 2 inches in, all along the board. This will help your tick marks to be straight.

Step 3. Line up a measuring tape next to the board so that you can see where the tick marks need to go. Tape so that your tick marks will be about 3/4 inch wide.

This part is tedious, so be prepared. Make the tape as straight as possible so that your "tick" marks come out straight. As you can see, I kind of folded the masking tape down the middle to make narrower strips.

Go down the entire board.

Step 4. Paint the lines, skipping every third line (as these will be the longer tick marks) and allow to dry completely before removing tape.

Step 5. Re-tape for the longer lines (meaning you will have to bring the very first piece of tape that was laid, i.e. the blue tape, out a bit) and then paint. My shorter tick marks were a little under 2 inches and my longer ones were 4 inches. Allow to dry, then remove all the tape.


So now you should be looking like this.

Step 6. Using a number stencil of your choice, paint the numbers at every fourth long tick mark. Depending on the length of your board, you should only end up to 6 or 7 feet. Allow to dry, then your growth chart is finished!  

Hang anywhere. This would be cute in the kitchen, in a child's bedroom or I just put ours in the girl's playroom.


This is what we used to hang ours. We used one at the top and one at the bottom of the board. That way the board hangs straight and doesn't sway around at the bottom. Since the board was going to be in the playroom where it could easily be knocked around, I thought (actually my husband thought) that this would keep it the most secure. And he was right. It's not going anywhere.

There you have it! Your very own rustic growth chart. And by the way, if you don't like the colors of this one, you can customize it however you like. The woman I saw selling these at a garage sale had Seahawks ones. They were really cute!
 This girl is getting too big. Almost 4 whole feet with her bun in. :)


Hope you are all having a wonderful start to the week!


Friday, October 10, 2014

Sneak Peak Project

Happy Friday!
Just popping in to give you a sneak peak of a really awesome project I have been working on. Just wait until you see it! I am so excited about it. I am hoping to have it finished in the next few weeks, so keep checking back in. Meanwhile, guess away...


Have a great weekend!

Thursday, October 9, 2014

Cinnamon Streusel Pumpkin Muffins

Has anyone else had that Fall baking itch come on? I have. It's like as soon as Fall arrives I get this uncontrollable desire to bake anything and everything. And it doesn't matter what the weather is like apparently because I still have felt the urge and its been 70 degrees and sunny every. freaking. day. Ugh. So annoying. Yesterday seemed like the perfect day to whip out the aprons and make something delicious. Being October, I thought it was only fitting that we make something with pumpkin in it. Princess was my little helper and I have to say, she is getting to the point where she actually helps a little! Guess we'll be doing a lot more baking together. Yay! Last year I made a bunch of these Pumpkin Cake Cookies, but I wanted to try something different this year, so off to Foodgawker I went and found this scrumptious recipe from the Peaches and Cream food blog. You can see the recipe here. If you want something pumpkin-y but you're not quite feeling this recipe, head on over to Foodgawker and enter "pumpkin" in the search. You will find tons of amazing recipes with pumpkin; from dinners, to desserts, to drinks.

Here's how our batch turned out. I could have sworn I had some Fall-ish paper muffins cups, but couldn't find them. So we used these pink floral ones...and one Christmas one.

So yummy! Since this recipe is nut free it makes it a perfect snack for me to pop in Princess's lunch box.

 Or a cozy afternoon treat paired with some Earl Grey Tea.

Yum! What's that you see in the middle? That's right, cream cheese frosting. We don't mess around.

This one just refused to smile for me. Lil' stinker.

This is the face of, "Mom, stop taking pictures of me. You are driving me crazy! Let's bake already!"

Hope you are all having a wonderful day.

Wednesday, October 8, 2014

Halloween Home Tour

Good morning!
Yesterday I showed you our front porch all decorated for Halloween and today I am going to take you inside the house for more Halloween decorations. You ready? Here we go.

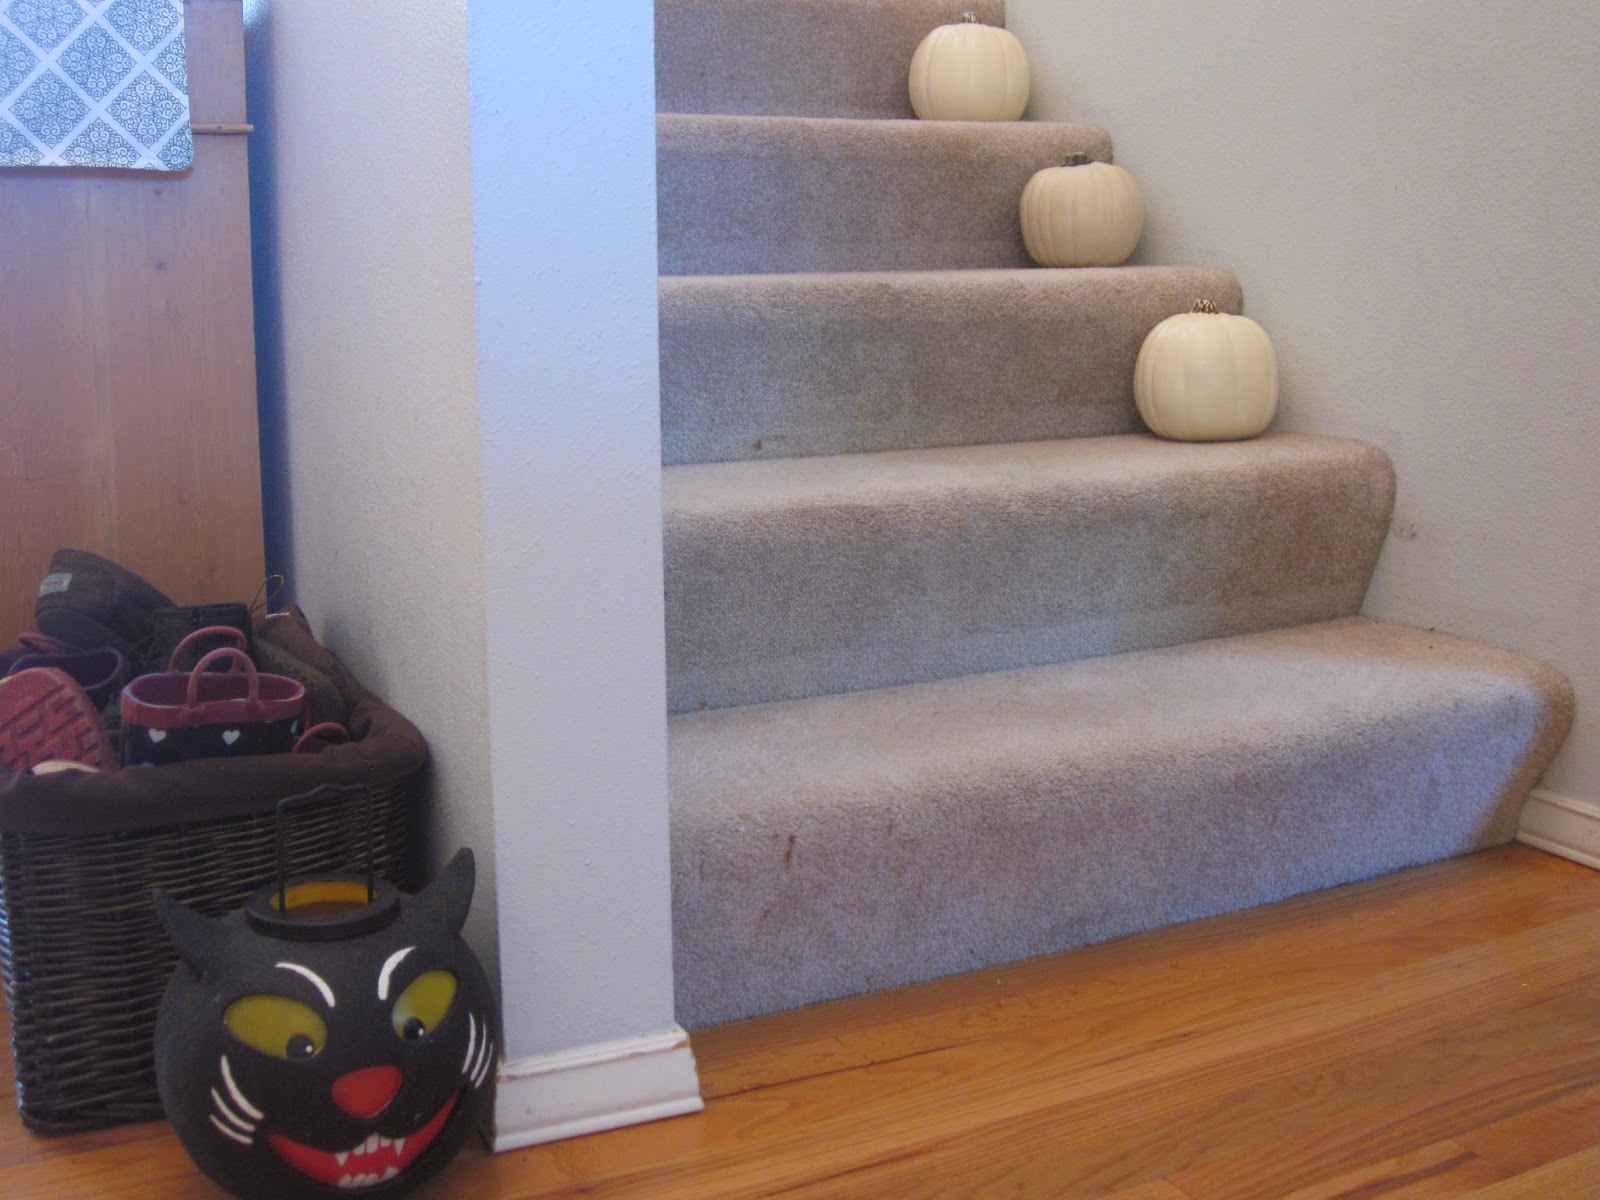
I got really into white pumpkins this year. I just really love that they are neutral and can be kept around from early Fall to Thanksgiving. Plus, they just look elegant.

I don't know if anyone would notice (because I think for the most part, I tried to keep it out of pictures), but we took down the baby gate that had been on the stairs forever. My husband just asked the other day if we could take it down, since the girls were probably old enough to not need it anymore (they are 2 and 4) and I was like, "Oh yeah, I guess we DON'T need it anymore. I guess we don't need to be banging our shins on it every time we try to climb over." Still don't know how our dog Tank will do with the literal invisible fence, but we'll see. It's nice to have the gate gone anyway.


When you look up in our front entry you can see our ghostly greeters. Those little guys were so fun to make. You can find the tutorial for them here.


I kept this spot pretty clear, as on Halloween night it will have a giant bowl of candy plopped right in the middle. And it will keep having to be refilled over and over and over...


The family/TV room.

The mantle all decorated for Halloween. I am still absolutely infatuated with our new mirror. You can see more pictures of it here

The Silhouette Pillows I made last year. I still want to fix the Star Wars-esque cat one. Amateur!

Love Mr. Owl though. He's perfect. And so wise.


If anyone is wondering where our giant wine cork "S" is, it broke! It fell off the mantle one too many times and then finally split in half. My husband said he would try and fix it, but as there are loads of other honey-do's on the list, it has fallen away. But I made a quick gold "S" to replace it. Probably better because the wine cork one would have overwhelmed our new mirror. And we all know which would win that battle.


Still working on my vignettes. Getting a little better? Maybe?


Lil' pumpkinhead.


This was Princess's contribution to Halloween decorating (although, trust me, she wanted to do more. Mamma just wouldn't let her!). She put it together herself.

The kitchen.


This chalkboard sign has been so much fun. I used a chalk pen for this one and it looks so much cleaner than regular chalk. I just hope now I can get it off! It is supposed to "wipe off". If it doesn't I guess I will be stuck with a Halloween chalkboard! Goodie.


Our glorious Hood River apples. Each one is so big its like a meal in itself!


I started growing some Paperwhites in hopes to have some to decorate with for Christmas. We'll see! I have a kinda brownish-green thumb, so here's hoping. They look kinda like fingers.....so perfect for Halloween decorations right? No, I mean I totally meant to do that.


 One of our Stuffed Pumpkins from last year. It's a really easy kid's craft if you need an afternoon activity.

That's all for today. Hope you enjoyed our Halloween Home Tour!