Thursday, September 21, 2017

Entryway Redo

Hello friends!
It's been a long time, did you miss me? If you followed my blog before you probably thought that I would never blog again. SURPRISE! The last post I did was in March of 2016! Well over a year ago. I felt like I needed a break from blogging as I started to feel more pressure than pleasure from it and decided that since that wasn't the point, I should stop for awhile. Then after being so long away from it, I started to worry that I couldn't do it again. Then I started to really miss it and decided that I want this. I love the creative outlet that it gives me and I love being able to write, even if no one reads it. I am lucky that my regular job has slowed down to 2 days a week and I will have more time to do things for myself and my sanity....like blogging! I probably won't do it as much as I did before, so that it continues to be something enjoyable for me. But I would like to try for a few posts a week to share projects, crafts, ideas and home decorating with you all as these are things that I really enjoy doing and would love to share and hopefully inspire others. Anyway, that's my story and would love for you to follow along!

We recently redid our front entryway and I wanted to share with you what it looks like now. But first, here are a few before photos to remind you of what it looked like pre-redo. The only pictures I could find were from birthdays, but you get the idea.
BEFORE:


So normally it had that lamp, which was one of my very first blog posts! And that old window on top with family pictures displayed. It was a great little hutch to have as a drop spot for keys and such....but it drove me crazy when it was piled up with stuff and the hutch itself seemed too small for the wall. I originally wanted to do a longer entry table, maybe with baskets underneath and bigger lamps up top. But then I decided I wanted something that would be a little more utilitarian for the space. So I thought up doing a bench with a shelf/cubby over it as a sort of shoe putting on/school drop zone/mud-room type spot. Here is what we did.
AFTER:


It actually proved to be a very hard spot to photograph straight on, so all the pictures are at an angle, but anyway, I love the way it turned out.


I am really excited to play around with the decor for the cubbies throughout the seasons. I mean, come on, Christmas!? It will be so fun.


For now I kept it pretty simple and clean with the decor and of course added a few Fall touches.

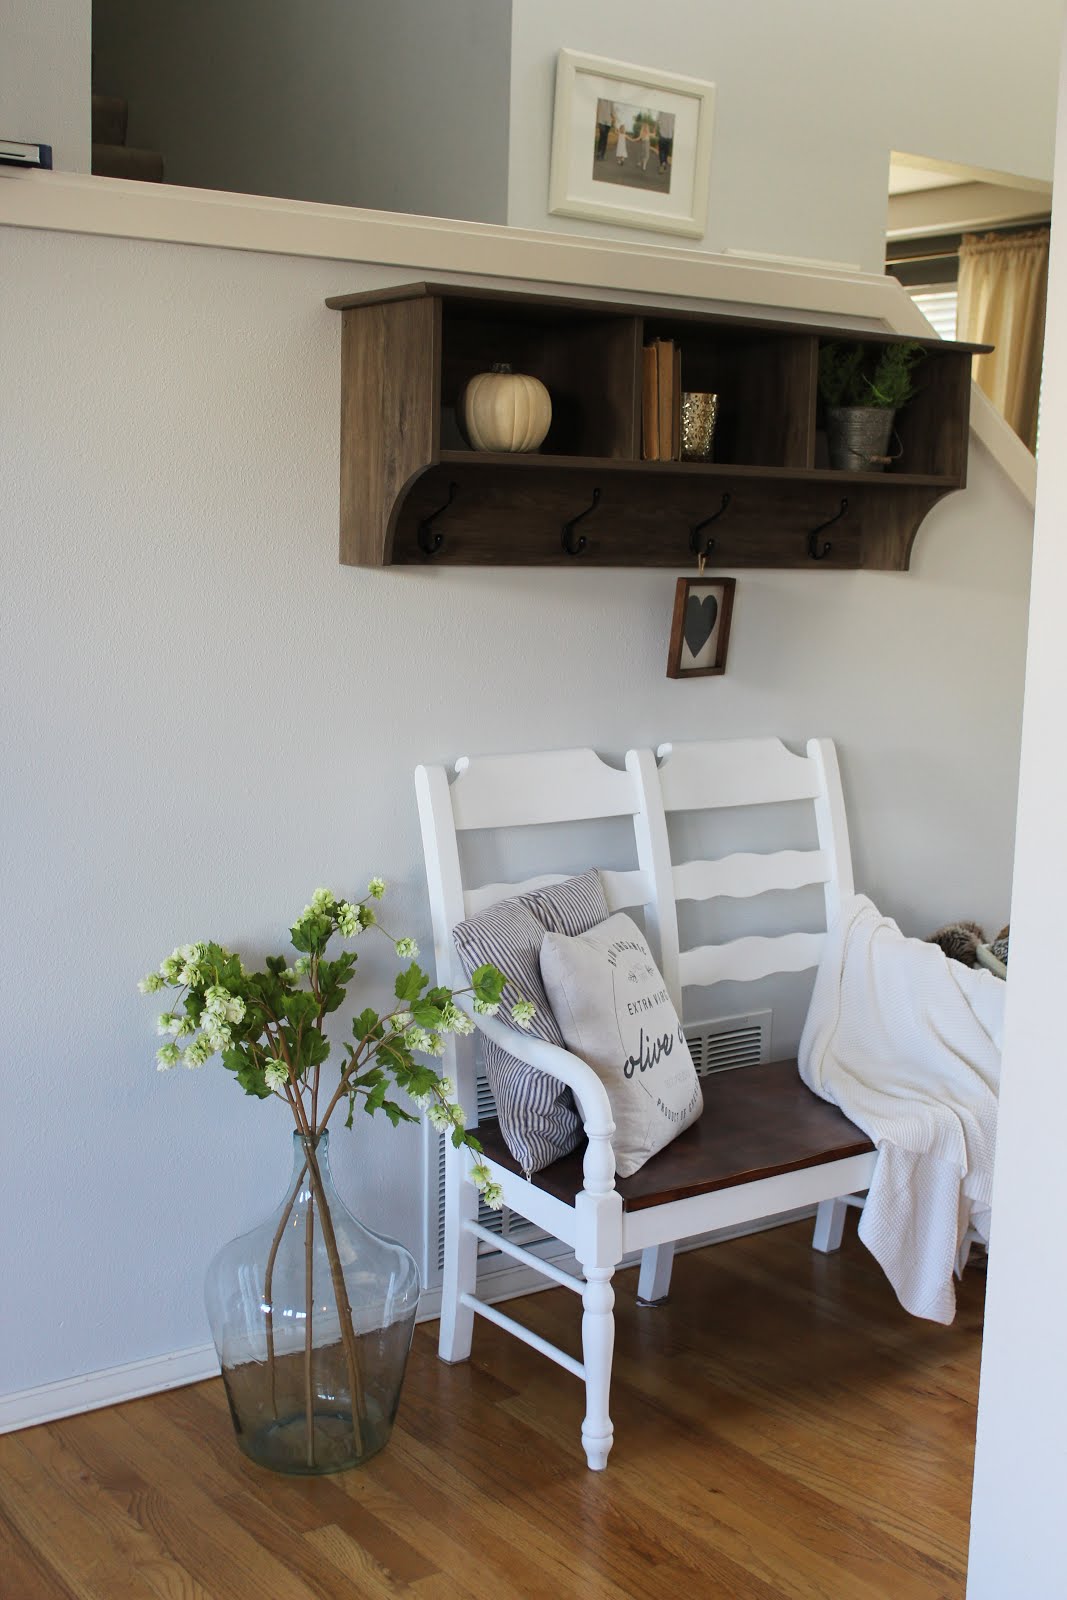


This is the best straight-on shot I could get. I took it from inside the little window opening in our living room. It kind of helps to see the whole space.

If anyone was wondering, we did still keep the hutch. I put it where I used to have the bench, outside the office. It seems to fit there really well.


The shoe bin will not stay there. I am working on finding some basket/bins to go underneath the bench, because it makes more sense for our shoes to go there, but it's hard finding the perfect ones that fit!


I have been waiting for a perfect spot to put that sheep art that I picked up driving through wine country on the way to my sister's wedding last year and I think I found it. As you know our last name is Shephard, so sheep have a special place in our hearts. I tried to keep it pretty simple on the hutch as well, because most of the time that ends up being a huge drop zone for receipts, papers, keys, etc.
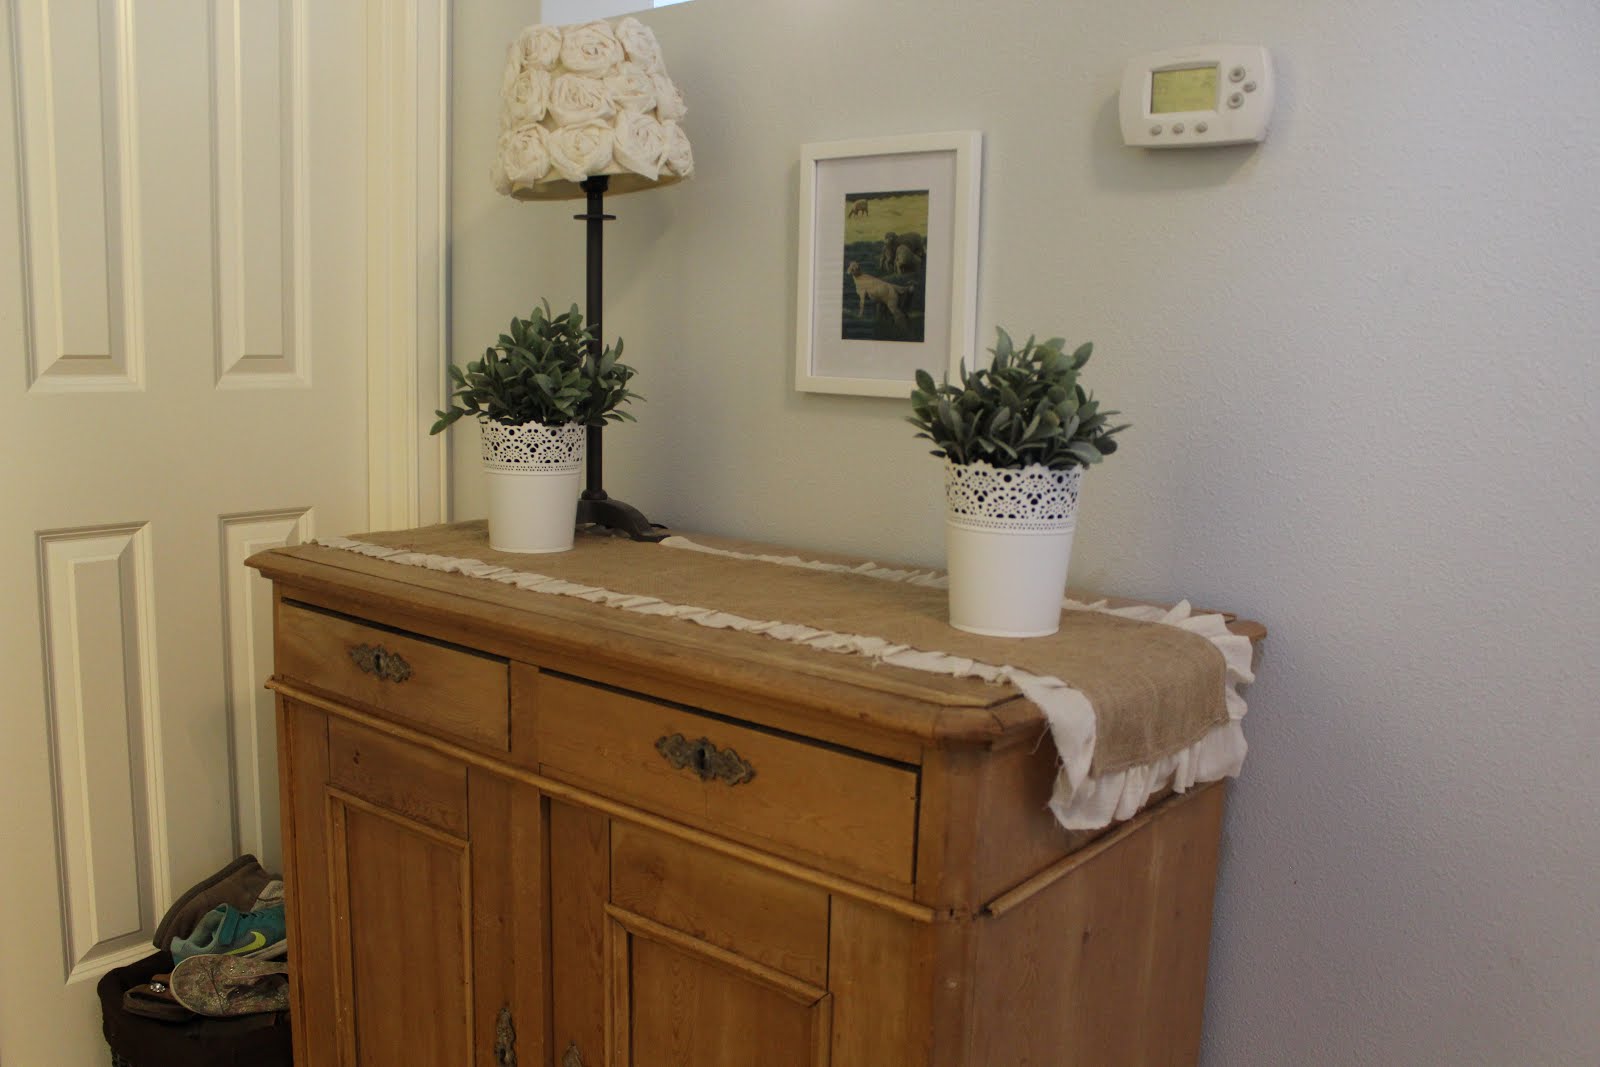


And here is it in relationship to the bench.


 So that's our entryway redo. Hope you enjoyed! I will list all sources below.

White Bench: I bought two of them at a garage sale a few years ago and painted one white. The other one resides on our front porch. I just did a quick search and found this bench here. If you wanted it to look like mine, you could easily throw some paint on it. But I bet there are more options out there that are closer.

Large basket: Crate and Barrel

Cubby/Shelf with hooks: Target. You can shop it here.

Pumpkins: Micheal's and Joann Fabrics.

White blanket: Target

White and black blanket: Ruddy Duck (In Hood River, OR)

Chocolate furry blanket: Pottery Barn you can shop these blankets here.

Books: Vintage finds

Mercury glass vase: Old candle container from Target

Galvanized bucket and greens: Micheal's

 Large blue demijohn (blue vase): Painted Fox Home. You can find it here. I got the XL size.

Faux Hops flowers: Molbak's

Heart Sign: Micheal's

Pillows: The large one I made and the olive oil one is from Linen and Ivory. The owner of the shop is local to me and I love her pillows. She has some beautiful new botanical ones for Fall.

Two white flower pots: IKEA

As always I am here for any questions or comments you may have! Be sure to follow me on Instagram for more photos and "a day in the life of Brooke" type things and Pinterest for where I find lots of inspiration.

Hope you have a wonderful day!

Thursday, March 3, 2016

Refinished High Chair

Good morning and happy Thursday friends! As most of you know, we had our third child last September. The nice thing about it being our third girl, is that we didn't really have to buy all that much. Except, you know I had to buy some new clothes for her because it was too exciting and I thought she deserved to have SOME new things! Anyway, we had a high chair that had survived both Princess and Peanut, but when I was pregnant with (we'll call her...) Shortcake I decided that I really wanted to get her a wooden high chair. When you have three children, there gets to be so much plastic that its really nice to have REAL things. Like a wood high chair. So of course I got on Pinterest and found hundreds of cute ways to refinish high chairs and then I was sold. All I had to do was find the right high chair at the right price. Which, let me tell you is not easy. They have vintage high chairs selling on ebay for hundreds! No joke! But in the end after a few months of searching, I found one locally on craigslist. It took me a week or two to get it all finished, but its done! And just in time for miss Shortcake to start eating solids! Here are the before and afters and how I refinished it.

BEFORE:

It was actually in really great condition and very pretty to begin with, but I had to make it my own.


AFTER:


How I refinished it: First I tried to use this spray-on paint stripper to kind of loosen up all of the finish on the chair before sanding it down. It did not work at all and I don't recommend it! It just ended up being a huge mess and didn't really take off any of the finish. I have never used the kind that you pour/wipe on, so that may have worked better. But I was trying to have the least mess possible, while also doing a good job and the spray just ended up being a hassle. 

Step 1. So after cleaning off all of that, I sanded it down with a hand sander. It took a while and I had to hand sand the legs and crevices. 
Step 2. Then I stained it with Varathane Wood Stain in Weathered Gray. 
Step 3.Then I sanded that down slightly to give it an antiqued look and let the wood show through in places.
Step 4. Then I sealed the chair with Martha Stewart Crafts Vintage Decor Clear Wax and the top/tray I sealed with Watco Butcher Block Oil and Finish. I did the tray with the butcher block finish because it is food safe. The butcher block finish also made the tray wipable. The clear wax (I have noticed on my kitchen hutch that I refinished a while back) can wipe off pretty easily when it gets wet. Both finishes are very different and you may notice in the pictures that the butcher block oil made the tray shinier than the rest of the chair. This step took the longest because they both needed several coats and you have to let the coats dry for several hours. Then that was it! A brand new wooden high chair for Shortcake!  


She is still a little bit too small for it and isn't quite sitting up on her own yet, but I think she likes it!
Hope you enjoyed and as always, let me know if you have any questions about the project.

Have a great weekend! I'm off to LA for the weekend to do some wedding dress shopping with my sister!!! I'm so excited for her! And guess who gets to come with me? Little Shortcake for her first ever plan ride. Wish me luck!

Tuesday, March 1, 2016

Spring At Our House

Can you believe its already March!? I can't believe how fast time is flying. My littlest one just turned 6 months old today and I can't believe that half a year has already passed. We have loved every second; she is such a happy, sweet baby and her big sisters adore her. Its so much fun to watch your family grow. Since Spring is sneaking up on us, I thought I would share some Spring photos of our house this morning. Its a pretty gloomy day out there, so sorry if the pictures are a bit dark.


I set up this art station for the girls recently and I have been loving it. They used to have a drawer that is right in my desk/work area and so they were always getting stuff in and out and driving me crazy while I would try and get stuff done. So this has been awesome. It's easily accessible for them to pull things in and out and it's right next to the kitchen table where they do all of their art projects.


I got some new Spring pillows from SoVintageChic (Etsy.com) and I have to say, I am obsessed with her pillows lately! The pillow styles just keep getting cuter and cuter.


It's so refreshing to have a little green in the house now.


Here is another SoVintageChic pillow. Gorgeous right? I love.


As you can see there are bits of St. Patrick's Day things scattered about. The girl's are really into holidays lately. As soon as one happens, they are already asking what the next holiday is. Princess actually just came to the realization the other day that holidays keep repeating themselves. She said, "What's after 4th of July?" and I said, "Halloween I guess." to which she said, "Again? Over and over?".


Our new chalkboard saying for the month. I just love this old Irish blessing; it is so charming. I had to cut it down a bit to fit, but it still works.


That's all for now. Hope this gave you a but of sunshine on this gloomy day! Have a great week!

Thursday, February 11, 2016

Valentine Ideas

Good Afternoon friends! I'm betting that a lot of you have already made or bought your valentines by now, (Valentines is this weekend for goodness sake!) but if you haven't and you need some ideas for teacher's gifts and friends I thought I would show you what we did last year and this year to give you a little inspiration.

Last year for Princess's school friends, we dressed her up in her Valentine's finest, took a picture of her with her hand out and then printed the picture off. Then we glued it to some pretty cardstock and I stamped the words, "I'm a sucker for you!" Then we cut holes around her hand and stuck a sucker through. The end result was better than I expected and everyone loved them. Here are some pics of how they turned out.


Super cute, easy and cheap! Nothing's better than that!

We also made some salt dough heart necklaces for all of her girlfriends, but I didn't take any good pictures of those. But if you want to do something like that here is the recipe we used from Amazing Mae.

Then for her teachers, I stamped the words "Will you Bee mine?" onto plain cardstock, with a bee stamp replacing the words "Bee". Then attached Burt's Bee's goodies, such as lotion and lip balm. If I were a teacher I would much rather have that then candy. Ok, fine love candy, but I prefer to buy my own. Here is what those looked like.


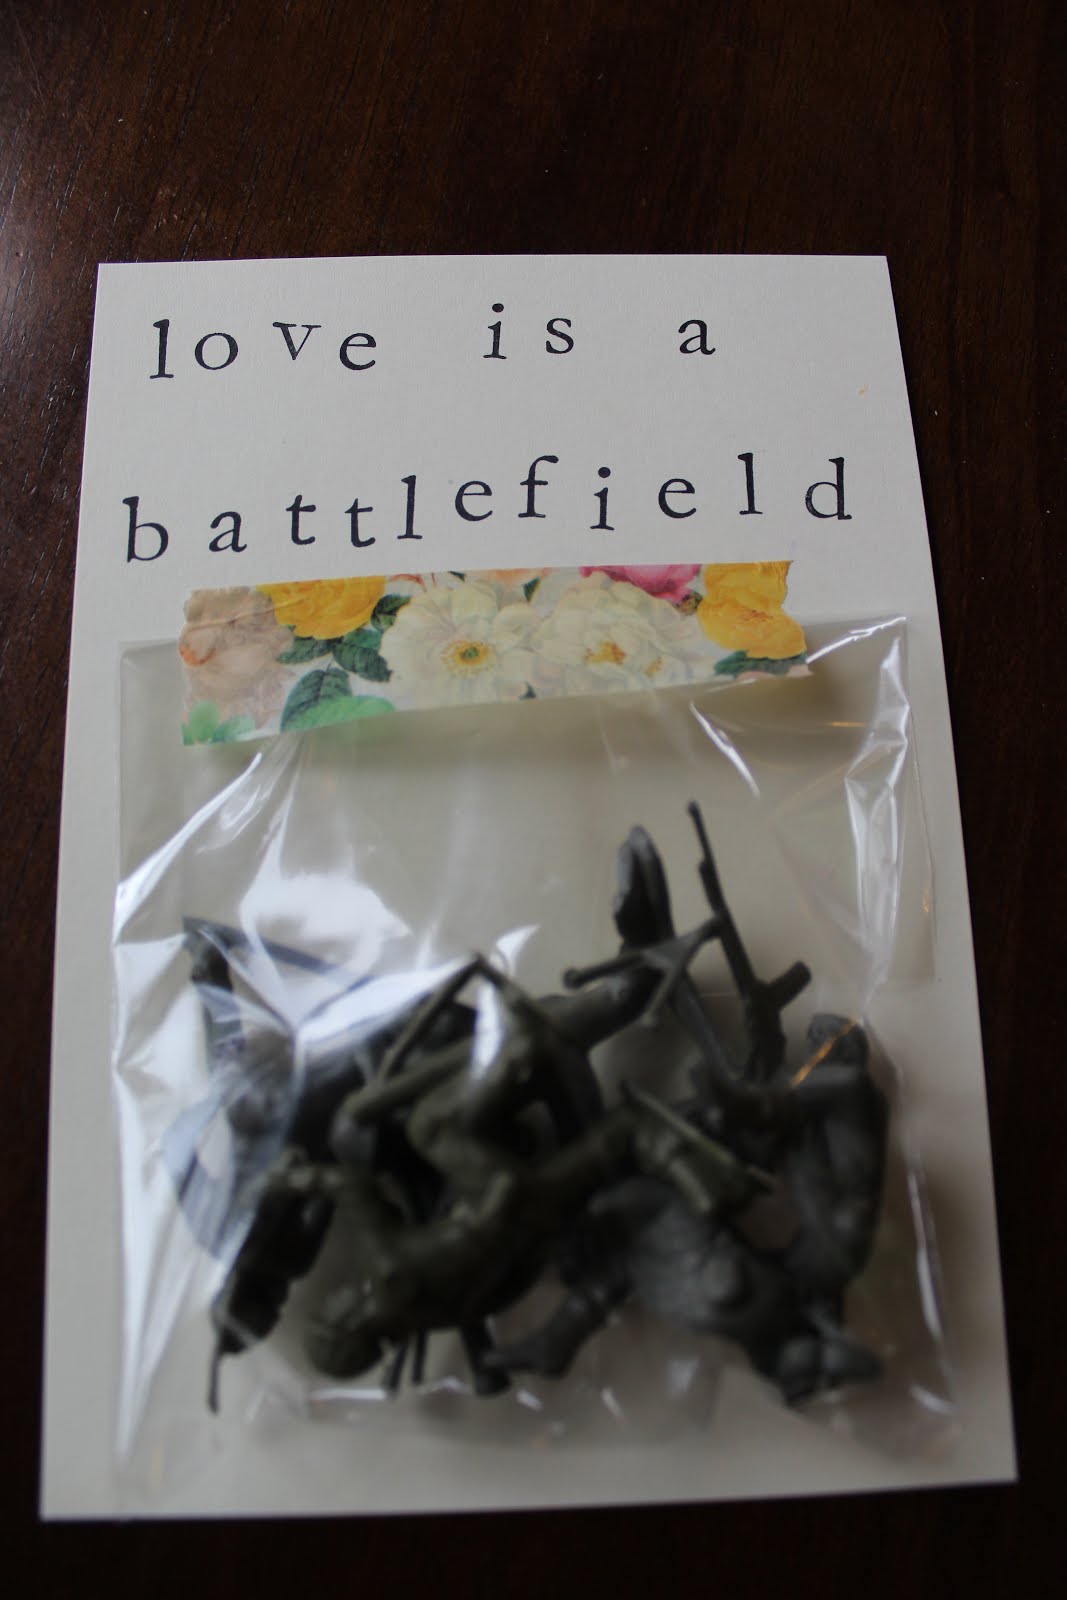
Then this year, for the boys in Princess's class, I taped army men to cardstock using cute washi tape with the saying, "Love is a battlefield". Thank you Pat Benetar for your words of wisdom.

Boys love their army guys and guns.

Or if you want to give multiple army men...


For the girls in her class, we painted wooden beads in various colors of pink and then threaded some ribbon through them to make an easy customizable bracelet. Then we stamped the words, "Wood you be mine?" onto cardstock and secured the bracelets on with washi tape. I love the way the bracelets turned out. Kinda like little girl Anthropologie.


I forgot to take pictures of her teacher's gifts, (I know, bad blogger) but for them, we bought cute pink coffee mugs and then popped some fancy tea and honey sticks inside, then wrote on cardstock, "You're my cup of tea." Then we wrapped each in pretty ribbon. If you want to do this I highly recommend HomeGoods, as they have lots of options for mugs and nice tea. One of her teachers is male, so we made one for him too with a blue mug and manly Earl Gray tea.

Hope you found something to inspire your Valentine's making for this year or next. Have a wonderful Valentine's Day! And 3 day weekend!