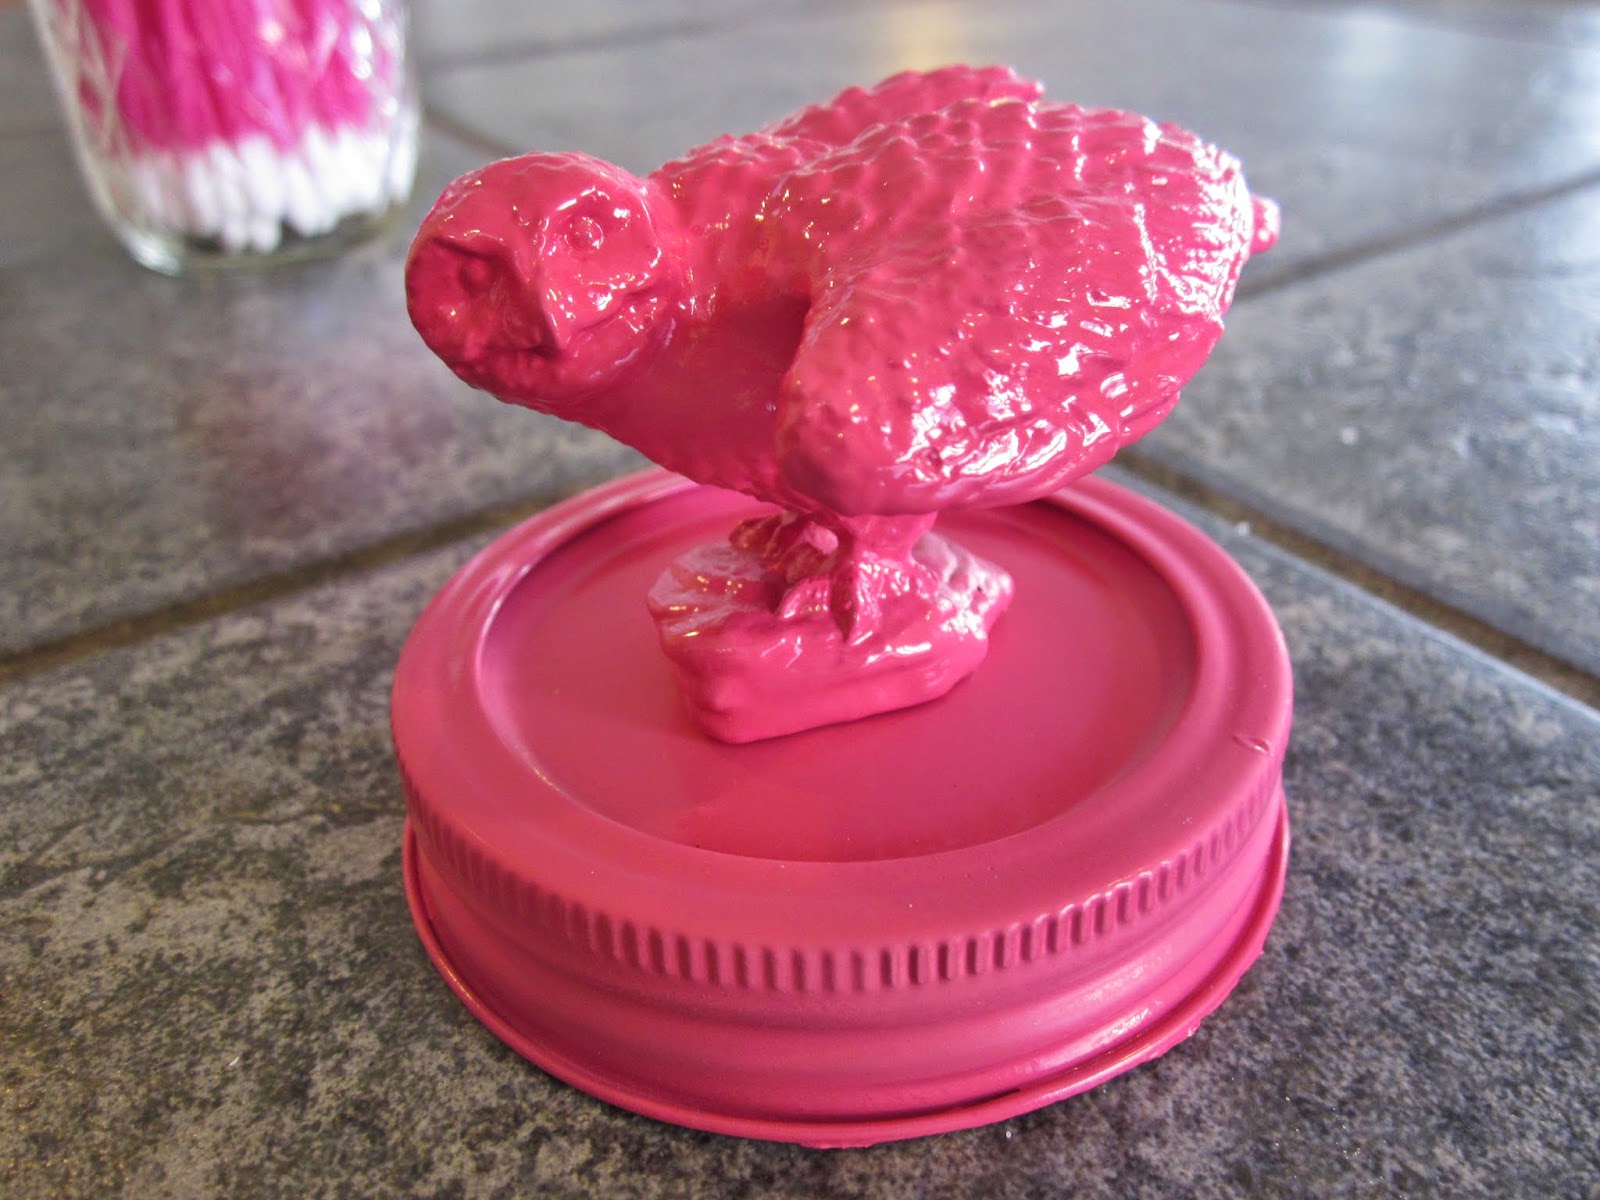
Animal Jars
For this project you will need:
Small mason jars or other glass containers (glass condiment jars would be a great size for this)
Little plastic toy animals
Spray paint in the color of your choice
Super glue and Gorilla glue
1. If the lids on your mason jars separate into 2 parts like these ones, you will want to glue the parts together first thing. Most mason jars are like this, but you may be able to find lids that are one piece. I know that I have a honey jar with a lid that would have worked, but I figured glueing the 2 parts together wasn't such a big deal.
2. Prepare a space to do your spray painting by laying out some cardboard or newspapers or even an old towel.
I chose these cute little guys for the animal toppers. I have always been partial to "forest" animals. It went pretty well with the theme of the girl's bathroom as well, which you will see in a day or two. I love the owl and sweet little fawn. And of course I had to have a fox because, well, "What does a fox say?".
3. Spray paint the jar lids and the animal toppers. You may need to do several coats. Allow to dry completely between coats.
4. Dab a tiny bit of Gorilla glue onto the animal paws/claws and then stick them onto the jar lids. Allow to dry.
Then these cute little jar toppers are finished! Here's our foxy fox,
Our sweet little Bambi,
And our wise owl.
These Animal Jars can be used for a variety of things. Use them in bathrooms, guest rooms, kids bedrooms, the kitchen or just as a little decoration somewhere. They can be painted in any color to match your decor. I used mine to house cotton balls, Q-Tips and since potty training our youngest is on the horizon, I filled Mr. Fox with some bribery jelly beans.
Hope you enjoyed today's post. Stay tuned for the girl's big bathroom makeover reveal!


No comments:
Post a Comment