Thursday, January 4, 2018

Styled Shelves

Good Morning and Happy New Year my friends! I hope that you all had a wonderful Christmas and New Years with lots of time to spend with your loved ones. We were with family in Suncadia this year and it was absolutely magical. There was a blanket of snow when we arrived and it snowed on Christmas. Who could ask for more? We grew our Santa bellies with loads of delicious food and snuggled and sledded and laughed and rested. It was perfect. When we returned home we still had a week of break and we celebrated by wearing pajamas all day and watching movies and sleeping in and of course eating the rest of our Christmas cookies.
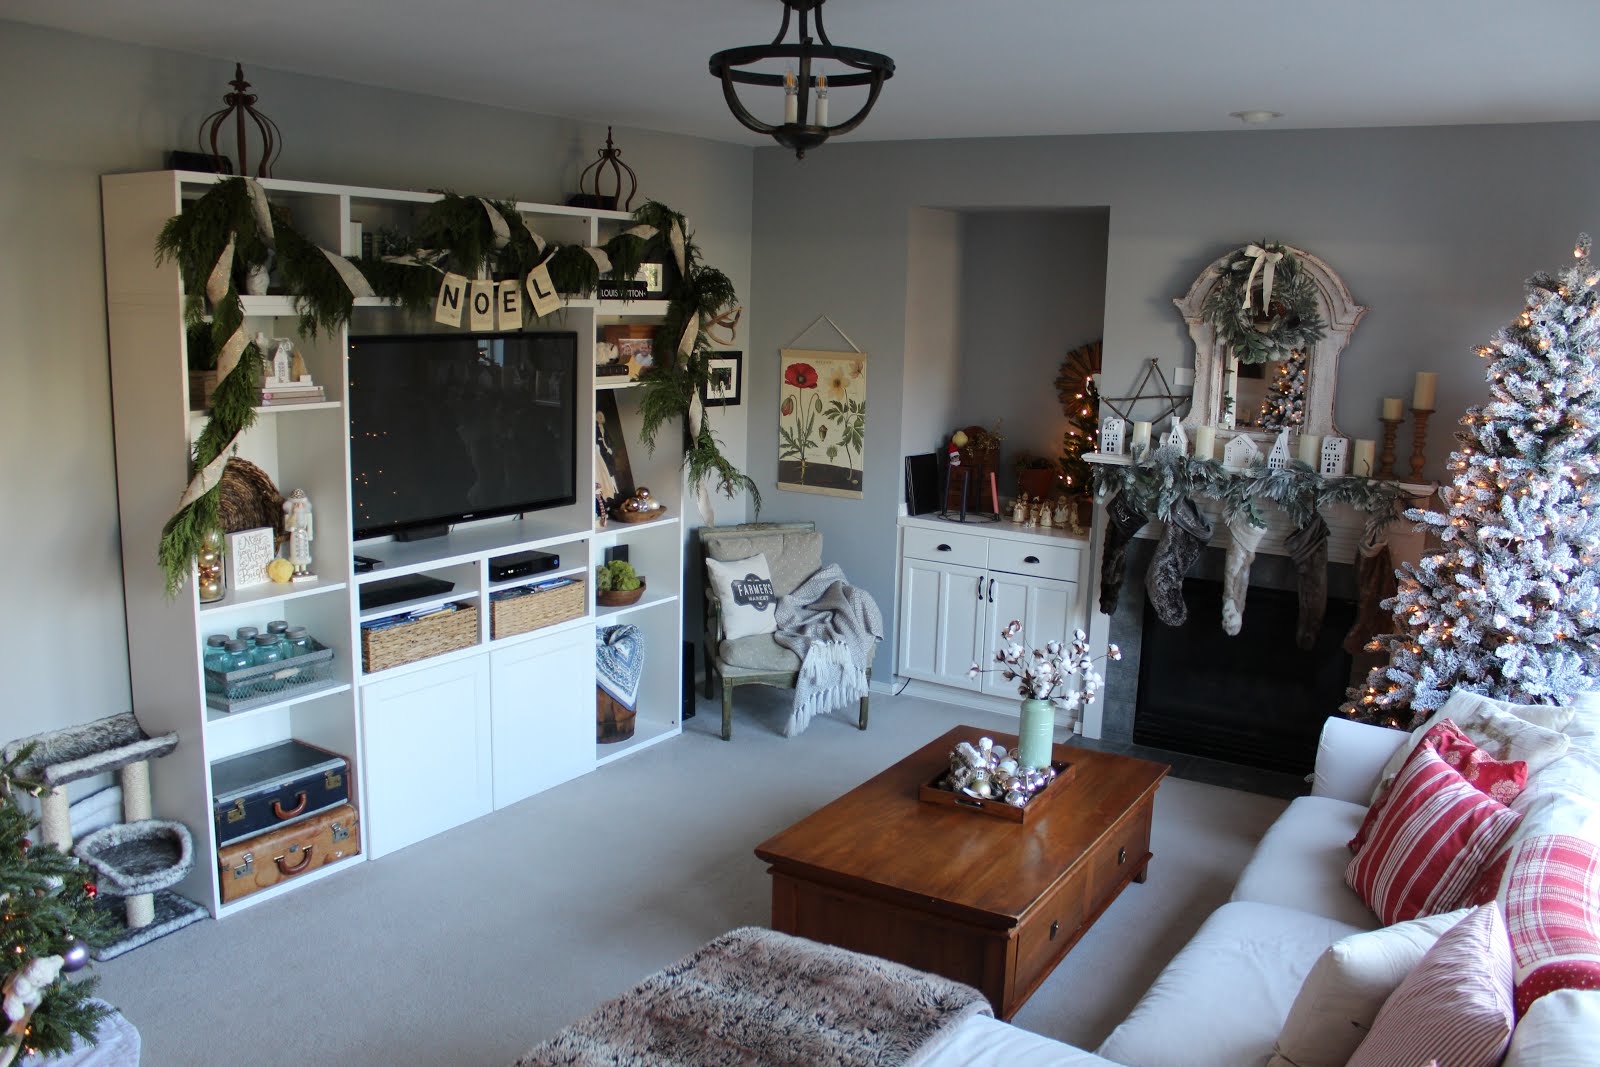
It has been very hard for me to take down our Christmas decorations this year. It never seems like enough time to enjoy them. So I have been taking them down SLOWLY. I think we will take down our tree.....or should I say trees, this weekend and I suppose I will have to take the rest down and pack it all away. I will miss our tree forest!
Yesterday I shared on my Insta-stories that I had a to-do list that started with 3 things and then turned into me getting distracted and doing a million other things that I hadn't planned on doing. I started by taking down the garland that hung over our TV, which turned into dusting the shelves, which turned into taking out all of the decor, which turned into restyling the whole thing. So I thought I would share with you what I did and some of the tips that help me when styling shelves.


Here are some tips that help me when I am styling my shelves.

1. SHOP YOUR HOME AND USE WHAT YOU HAVE! It may surprise you at how much you actually have laying around your house. Don't be afraid to shop other rooms and use things that might not necessarily fit. Try things out! If it doesn't work, just take it out and try again. When I style anything, it usually takes me a few hours to get it just how I want it. I'm no professional, so I really have to take my time and think about how things look and then find a solution when something doesn't look quite right.

2. PLAY WITH SCALE! I find that when you have a variety of shapes and sizes it always looks more appealing than if you were using items that are all the same size.

Here are some larger items.


Here are some smaller items.


3. REMEMBER THE POWER OF THREE! For some reason, even though it is an odd number, when you group together groups of three, it often looks better than if you just had two things together. Of course, this is not a hard rule (nor are any of these "rules") but it is a helpful tip.


4. CREATE TRIANGLES! When you start to put things in your shelves, try and think about triangles in the whole picture. What I mean is this. If you have a green item on one side, try to form a triangle by putting another green item on the opposite side and below the first item, so that if you connect the 3, it will form a triangle. This helps to balance the look. See below.


Here is another example.


5. STAY IN THE SAME COLOR FAMILY! When you stick to a set pallete, say 3 to 4 colors, it helps the shelves from feeling cluttered and overwhelming. In this room, I like to use lots of neutrals, creams and greens, so that's what I did for the shelves.

6. LAYER OR DON'T! I like to layer items and put something like a photo or artwork in the background and place other items in front. But sometimes just one item on a shelf is all you need. It just depends on you and what look you like best.


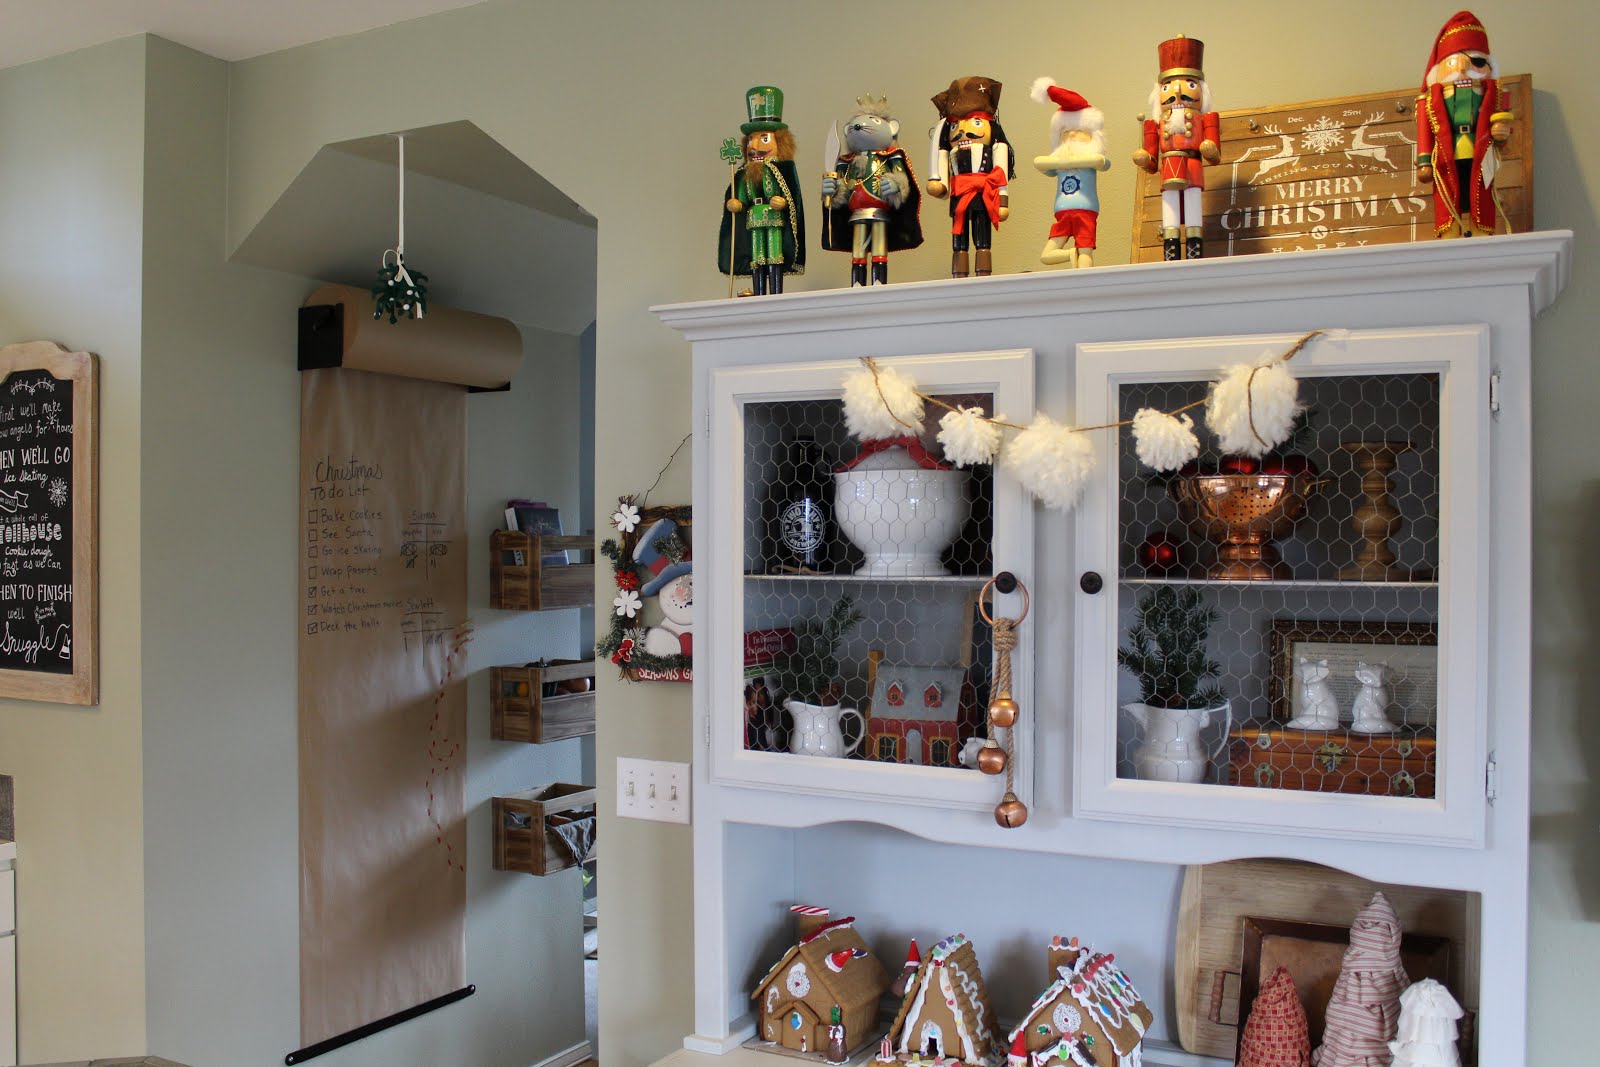
The biggest recommendation I have is have fun with it and take your time. As I said before, these are just some ideas to help you get started when styling your shelves. They are not hard rules. You can break the rules and do what you want! Play around, try things that seem like they wouldn't work. Use pieces that don't "go" in the room. See how I used the 3 white creamers? They are totally kitchen items, but I tried them out and I really like them here.
Anyway, I hope that this was helpful if you were looking for some ideas and inspiration for styling your own shelves. As always, I am here for any questions. REALLY. ASK ME! Even if you just want to know where I got something I will be happy to give you the source or something close to it. Just leave me a comment below and I will get back to you.
Have a wonderful rest of your day!

Saturday, December 9, 2017

Christmas In The Master Bedroom

Good morning and happy Saturday! We are going to a candle sale today (It's that company with those cool pumpkin candles I was telling you about in October, Big Dipper Wax Works) and then watching the Sounders game on TV, but I wanted to hop on here and give you a quick peak of the touches of Christmas we added to our master bedroom.


I didn't go super crazy in here (I mean, besides the tree), but I did want to have just a little bit of Christmas in here to make it a bit more cozy for the holidays.


I love this birch tree wrapping paper I found at Container Store. It looks so good on its own or with any colored ribbon.


I actually have been pretty good this year about wrapping here and there when I have time. Hopefully it will mean less wrapping the night before Christmas!


This tree has been so fun to have in our room. I originally had thought that I would decorate it, but I really like the bare look, so I think I will keep it as it is and then start thinking of how I want to decorate it next year!


Next weekend we have a busy weekend full of Christmas-y things, but this weekend we don't have much, which is so nice. I'm excited to relax and maybe get a little baking with the girls in. What things are you up to this weekend? Shopping? Baking? Wrapping? Have a great weekend!

Tuesday, December 5, 2017

Holiday Home Tour 2017

Hello friends! It is SO beginning to feel like Christmas and it is so exciting! I finally got our home all decorated and I am so excited to take you on a tour! It was super cold (27 degrees) and frosty this morning at our house, so it is the perfect day to show you through our home all dressed up for Christmas. Grab your coffee, get cozy and come on in!


I have a few of these fluffy wreaths in our house right now. I have made one every year for the past few years, so now I am up to 3. I just love how cozy and cute they are! I did a tutorial on how to make these in the past, so if you want to try making your own you can find that tutorial here.


I found this birch wreath in our garage over the Summer and I actually have no idea where it came from. Maybe I bought it and forgot? But anyway, it's awesome. I added a few bottle brush trees and some "snow" to make it a little more festive. I love that it looks like Anthropologie.


Welcome!


I have been looking forward to decorating this new entryway space for Christmas since we switched it up a few months ago and I am so happy with how it turned out. So cozy! There's another one of my fluffy yarn wreaths. This is the one I used to put out on the front porch with the sleigh, but I liked it so much paired with the gold bells, that I had to keep it in here.


We seem to have a thing for woodland creatures around here. You'll see them all over.


This is our old entryway hutch that we moved right outside the office and powder room. My darling cat Asher broke this old window pane of mine, so I decided to fix it up and re-purpose it with some chicken wire and use it to hold our Christmas cards. It won't be able to hold that many unfortunately, but it looks cute with those few early ones we received. If you are one of the cards up there, I'm yelling at you right now for sending them out before December! ;)


Here's our kitchen table all dressed up for Christmas brunch. It has become more and more of a squish to get us all around this little table, but we make it work. It's just cozier, right?


The sign reads, "It's all fun and games before Santa checks the naughty list". A sign that is a good reminder for my oldest right now.


And here's our newly painted white kitchen! I am loving how the red and green pop against it.


We got this new farmhouse kraft paper roll and it has been so much fun. We use it for grocery lists, to write notes to each other and most recently to keep track of naughty and nice kids....
There is one more part that we will put up in this area before it is finished and then I will show you more of it.


I tried out a new spot for our nutcrackers this year (usually I put them in the family room on the windowsill) and I am really liking them here. It also keeps little ones from playing with them.


All three girls did a gingerbread house this year at Grandma's and they turned out so cute! I'm still in shock at how good my two year old's turned out. Her's is the middle one.


Making spirits bright in this corner right here.


So excited to start the holiday baking in my new white kitchen!


Our subway tile is actually being installed this very second in our kitchen!!! So the next time you see it, it will be even more changed.


On the other side of the downstairs, opposite the kitchen is our living room, where our new forest is.


I really love the frosted garlands and trees and have been collecting more and more each year. I just love how much softer they are than the dark green and it works so well with the neutral colors that we have throughout the house.


I have always loved these little white houses in Christmas decor. I got one of these from the dollar spot at Target and the rest were actually gold before and I just gave them a fresh coat of paint.


More creatures.


I still have to get a little greenery for our advent wreath, I never really know what to do with it. I tried a faux garland to wrap around it and it just didn't look right. But I'm pretty much all done decorating for Christmas besides that, so I think that's pretty good!


I would like to try and switch out these red pillows for greens and creams in future years, but it was what I had this year, so I decided to go with it.


Here is our real tree that has been having a hard time surviving with our two kitties playing in it constantly. They don't seem to care that much about the fake ones, but man, this real one is their kitty playground!


I shot this tour over a few days, so you may have noticed our elf, Kodiak in a few different spots throughout. He just had to photobomb!

And now we come to the end of the tour. Time for me to start wrapping and baking! I will have a few other rooms in our house all decorated coming in the next few days, so be sure to come back soon. Hope you enjoyed our Holiday Home Tour! Merry Christmas!